Tuesday, June 25, 2013

Vmtber

Thanks to Tamar I now have a copy of another out of print book about old timey mountain biking. As you can see the styles were pretty radical in '89. The book, like many of its time, has a chapter on mtb touring which stokes me out, because we are essentially still doing the same thing. I really delight in reading and seeing images from this pre-suspention kinda wonder years era of mtbs; the gear was still funky, guys dragged their feet through corners, and there was a sense of excitement that you could explore and find adventure by bike. Sounds good to me. You can flip through some pages here.

Monday, June 24, 2013

Mitchell Canyon - 750 - chain buddy

Got out recently to camp on Mt Diablo, but took a new route up Mitchell Canyon on the east side. It was a helluva climb, but it seems like it's always worth it.

Riding out of Clayton another rider helped us navigate the tangle of trails in order to get to the head of Mitchell canyon.
 Looks flat in the pic, but we are in granny the whole way up. I was dreaming of a new 24 toother up front...
 Most of the way up

 panorific
 Eventually we made it to the saddle near the campground.
 We dropped our gear at camp and headed for the summit, but had to catch the fogset on the way up.

 Some of what remains at the Green Ranch. I really love finding these types of ruins out in the wild, it is always a treat to see nature reclaiming these spaces.
 Ridge running
 cave man
I've been curious about these bikes for a while. It's a 1991 Trek 750. A buddy of mine decided to sell his old Bianchi and switch to something that would accept a larger tire and that could be generally set up in a more comfortable way, and this was the solution. It's pretty well Riv'ed out: technomic stem, noodle bar, xd2 crank, xt front der, Deore rear, and of course a Brooks. The frame has ample clearance for a big tire and a fender (if you go that way), interesting lugs, rack mounts with a mid fork, and True Temper tubes. Still it's no Rivendell, one downside we noticed is a highish bottom bracket so you have to have a tall stem. He's got it set up as a roadie but it might make a fun monster cross too.
 That seat cluster is radical!
It's got a pump peg even.
 Great tire clearance, these are 38s with plenty of extra room.
 New xt der has the clunkiest clamp I've ever seen. I try not to get too hung up on aesthetics but this thing is a bookshelf!
 Lastly, here is a nasty little hack. It's a home made chain buddy to run a single ring up front with multiple cogs in the rear. I've tried a single ring in the past with no support but it always drops the chain at some point. This bike is going to be a junky townie so I'm not going to clean it up at all, maybe I'll spray some Boeshield on it, maybe.


Thursday, June 6, 2013

Mobile Power: Homemade USB Charger

Before heading out for a tour of the Pacific Coast, I hobbled together this USB charger to use with my SONdelux hub on a 700c wheel:


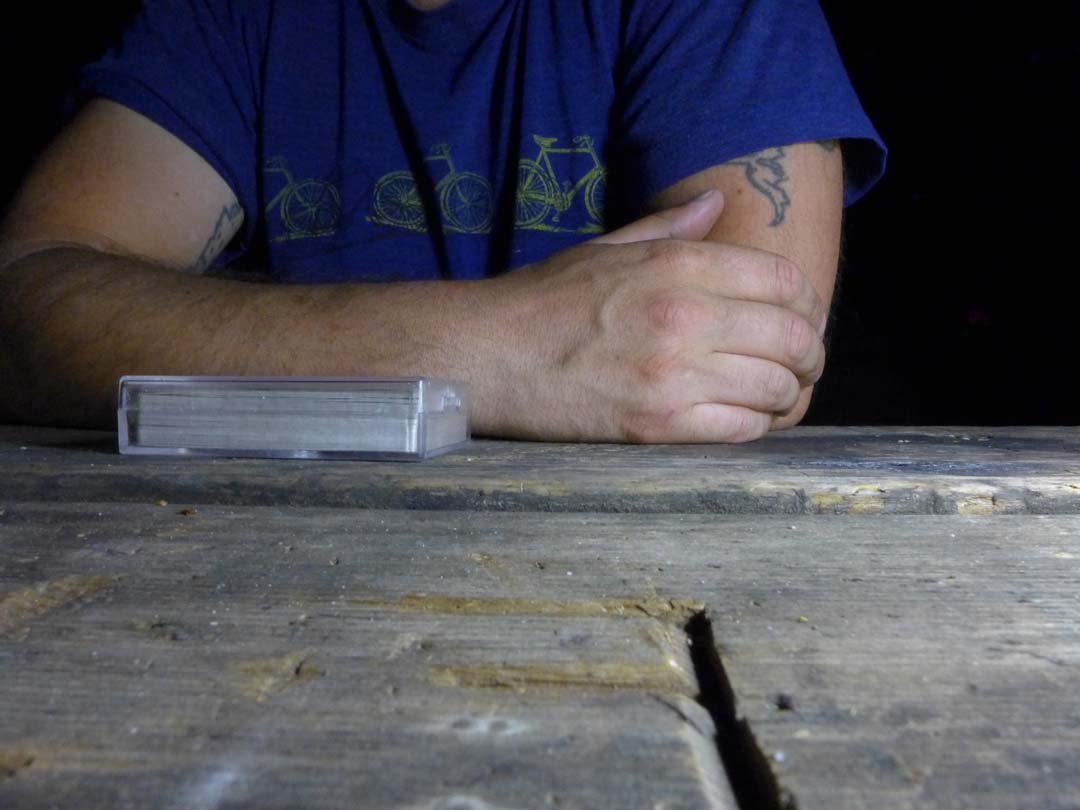
Please excuse the mess; I threw everything together the night before I left. The next version will be much sleeker. It weighs almost nothing and cost me only about $5. The circuit I used is a [very] slightly modified version of this one (which includes detailed instructions):

 I got most of my parts from Jameco with a couple additions from Radio Shack:

Diode bridge rectifier 100V 1.5 amp [turns the AC current coming from your hub into DC, far left on the schematic]
2 Zener diodes 15V 5W [placed end-to-end at the beginning of the circuit for overvoltage protection; apparently you can hit 100V with these hubs which would fry your regulator]
* 2200 uF capacitor [for power smoothing, I might add a bigger on to future iterations]
* .47 uF capacitor [tantalum should be used for this and the next one]
* LM2940 regulator [this is a low dropout regulator, which means you will hit 5V at lower speeds. You could also use an LM7805, but they waste more voltage]
* paper clips and a binder clip [the heat sink for the regulator wouldn't fit into the box, so I just clipped some stuff onto it as a very rudimentary heat sink]
* 22 uF capacitor [tantalum]
* Female USB A [there are four pins on it, the outside ones are + and - and the middle ones should be soldered to each other for some devices to charge]
*Prototyping board [soldered everything on this, got it at Radio Shack]
*Project box [also from Radio Shack, although, with better planning, this could all be a lot smaller]
*9 volt battery leads

I added two new wires to my hub and wired them to my front rack, where I added the battery leads to be able to snap the charger on and off (or other things I make in the future):


I decided to use the the charger to charge an intermediary battery since I didn't want to risk frying my devices by giving them variable voltages when I slowed down or stopped. I also liked the idea of being able to charge anything I needed once I got to camp. I chose the inexplicably, but perhaps appropriately named Dynamo-On-the-Go battery from RAVPower which was able to charge my phone and mp3 player several times between charges [note: the first one I ordered didn't work, but the replacement seems fine so far]. If I wanted to charge my stuff directly while riding, I would still use the battery and charge my devices while charging the battery (they have separate inputs and outputs). There are some really small ones that would probably work well, like this one.

And here's the thing all hooked up:
So far, so good, although I really only had to charge the battery once on my twelve day trip. I cheated and stayed inside a couple times where I charged my phone. But I was able to charge the battery to full with the charger and fill up my mp3 player and phone. More road testing to follow...

Here are a couple shots from the trip:


Mark's first braze job is still holding together after some loaded trail testing. More photos on my photo blog.

Monday, June 3, 2013

O' Giant Rock of Marin

We snuck out for a little night under the stars last Friday. I almost camped here with some folks a few weeks ago, but work interrupted so I decided to make it back out and ride some new-to-me dirt on the way back in. We camped at Pantoll campground, which is a kinda lame car camping spot, but it's a nice ride out and the surrounding area is incredibly beautiful.


Mark was testing out his new front bag design.
 And his new custom sleeping bag fabric-rack. In lieu of a rack, he made a fabric carrier that straps to the seatpost and to the seat rails. It also serves as a seat bag support for his Carridice bag.
 Here's just a loaded shot. I was carrying more than I needed for a warm overnighter, but I wanted to really test the new bag support. Included is a light pitch version of my MSR Hubba Hubba(no tent, just poles, footprint, and fly), Biolite stove, 3/4 pad, sleeping bag, liner, food, and warm clothes. We didn't carry any beer, but regretted it as soon as we made it to camp.  Once we settled in we just decided it'd be fun to fly down the mountain to Stinson and grab a couple of cold ones and head back up before sunset. What an epic downhill!

 Learning new card games, testing the camera.


 New growth
 Coming down coast view trail. From the campground you can stay on dirt nearly the entire way back to the Golden Gate Bridge.


 After an expensive but relaxing breakfast at the Pelican Inn, we climbed out of Muir beach on Coastal fire trail. The trail is steep and there was definitely a bit of pushing here.

And into Tennesee valley
 No pics for the rest of the ride through the Headlands, but we were left dreaming of a dirt route back to Oakland...